Mini Egg Cake
Ingredients
Preparation:
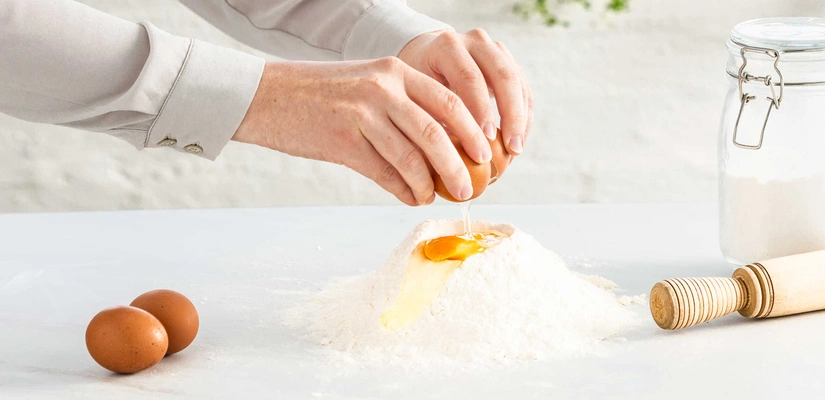
First up lets make the sponge; preheat the oven to 180°C/160°C/Gas Mark 4. Grease and line 3 x 8” round cake tins. Pop the margarine and sugar into a large bowl or freestanding mixer and beat together until light and fluffy. Add the eggs and Vanilla Extract and beat again until smooth.
Sieve the flour, Baking Powder Cocoa Powder and Malt Powder on top of the mixture and fold together. Finally pour in the milk and melted Chocolate and fold through your chocolatey sponge mixture.
Divide your mixture equally between your prepared cake tins and smooth the top of the mixture in the tins. Bake in the oven for 25-30 minutes until risen, to double check your cake a baked, pop a skewer into the centre and it should come out clean. Leave your cakes to cool in the tin for 15 minutes, then remove and pop on a wire rack to cool completely.
Pop the butter in large bowl or in a freestanding mixer and beat until smooth and glossy; gradually add the icing sugar to the butter making sure it is combined after each addition. Pop in the Vanilla Extract and melted White Chocolate and mix your buttercream on a high speed until smooth, light and fluffy – if you buttercream is a bit firm add a couple of tsps. milk to loosen.
Divide the equally between 2 bowls and add the crushed chocolate eggs to one bowl of buttercream and mix them through, this is the buttercream you will use to fill and crumb coat your cake.
Divide the other bowl of buttercream into 3 bowls and mix a few drops of Violet Colour Gel into one bowl, Pink Colour Gel into another and Yellow Colour Gel into the final bowl. You want nice pastel colour shades of buttercream, cover them with clingfilm and set aside for later.
Once your cakes are cooled, using a serrated knife cut the domed tops off your sponges to create a flat top. Pop a layer of sponge on your serving plate or cake board and place a dollop of chocolate egg buttercream on top and smooth out. Sandwich another sponge layer on top and cover with buttercream and add the final sponge layer. Use the remaining chocolate egg buttercream to crumb coat the top and sides of the cake – remove any large pieces of chocolate egg to make sure your crumb coat is smooth. Pop your cake in the fridge for 30 minutes to chill.
Whilst your cake is chilling you can make the chocolate nests. Break up the shredded wheat into small pieces and pop into a bowl.
Melt the Dark Chocolate in the microwave and pour over the shredded wheat. Stir together until all the shredded wheat is covered in chocolate.
Line a small bowl with cling film and spoon in the chocolatey shredded wheat. Using a spoon push the mixture up the sides of the bowl and leave a well in the middle to fill with eggs. Pop it is the fridge to set.
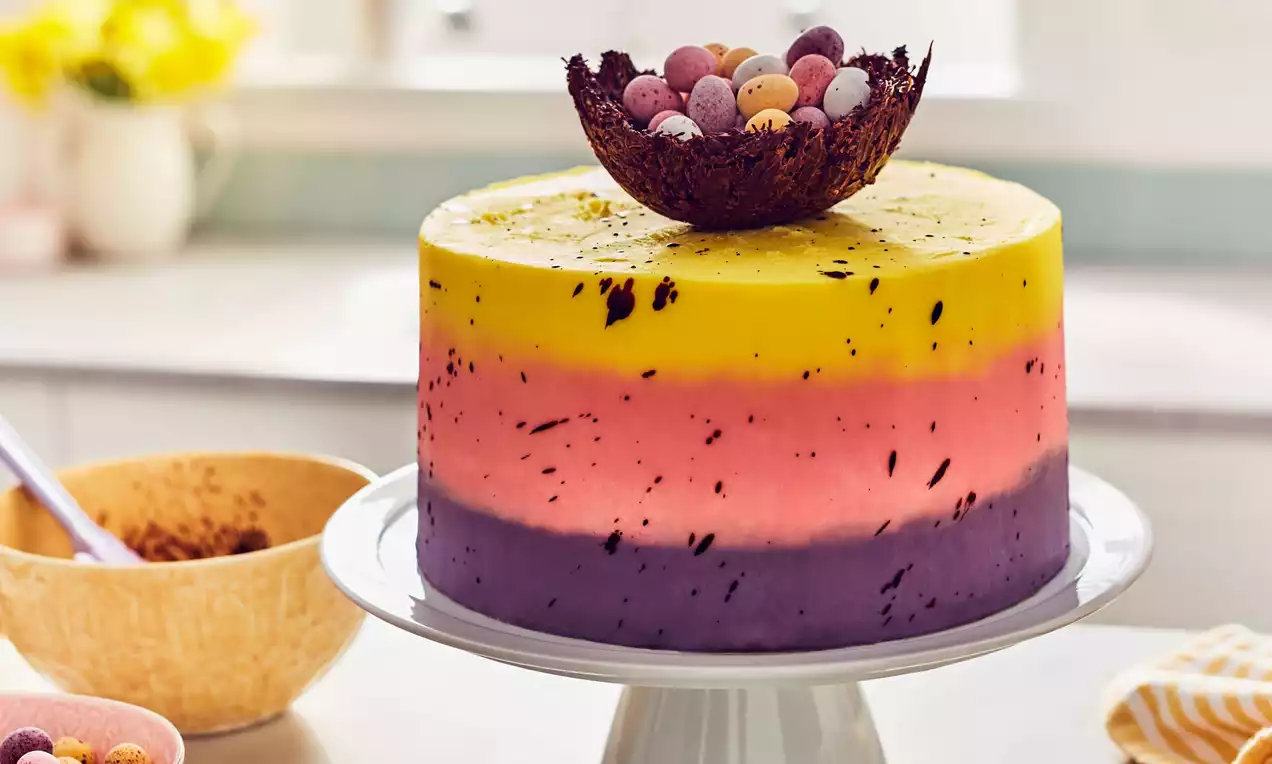
Once your crumb coat has set, grab your cake out of the fridge and now it’s time to get colourful! Pop your coloured buttercreams in piping bags and cut a 1cm hole in the end of each piping bag. Starting with the purple buttercream pipe rings of buttercream around the cake starting at the bottom of the cake, once you are about 1/3 of the way up the cake start piping rings of buttercream with the pink buttercream and then use the yellow buttercream to cover the top and remaining sides of the cake. Use a cake smoother to smooth out the rings of buttercream and create a smooth ombre finish on the cake.
Now time to create the speckled effect, pop the Cocoa Powder and water in a small bowl and mix together to create a smooth paste. Grab a paint brush and dip into the Cocoa Powder paste and splatter over the cake to cover the top and sides. – This a messy job, we suggest placing a baking tray behind the cake to catch any extra splatters and protect your walls!
Once your chocolate nest is set remove from the bowl and peel away the cling film. Pop your nest on top of your cake and fill with chocolate eggs. Ta-dah look at your Easter cake masterpiece, now go on grab a slice!
Related Recipes
Whole Cake Recipes
Meringue Kiss Cake
Whole Cake Recipes
Rose Gold Faultline Cake
Whole Cake Recipes
Lemon Polenta Cake